When front-end developers and UX engineers are tasked with building a web interface that feels tactile, bouncy, or destructive, the industry instinct is almost always the same: reach for a physics engine. Frameworks like Matter.js, Cannon.js, or custom WebGL solutions have become the gold standard for creating immersive, gamified websites.
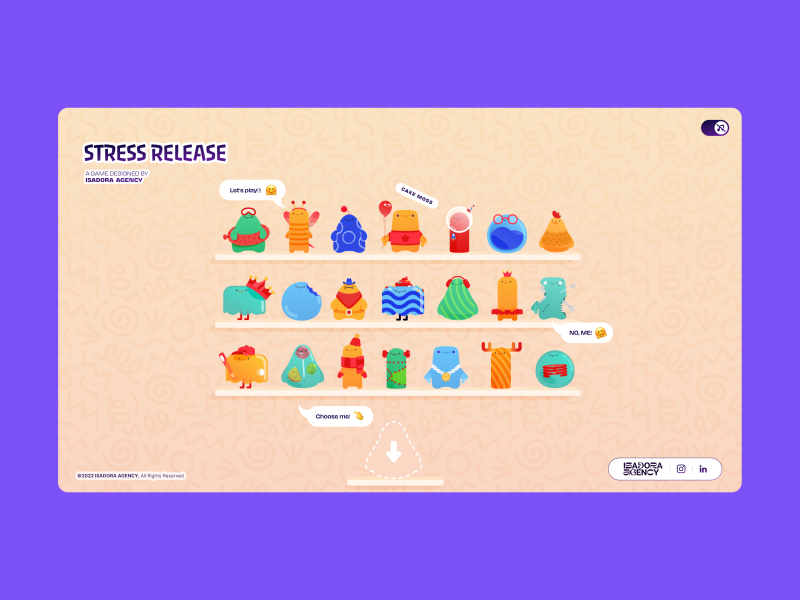
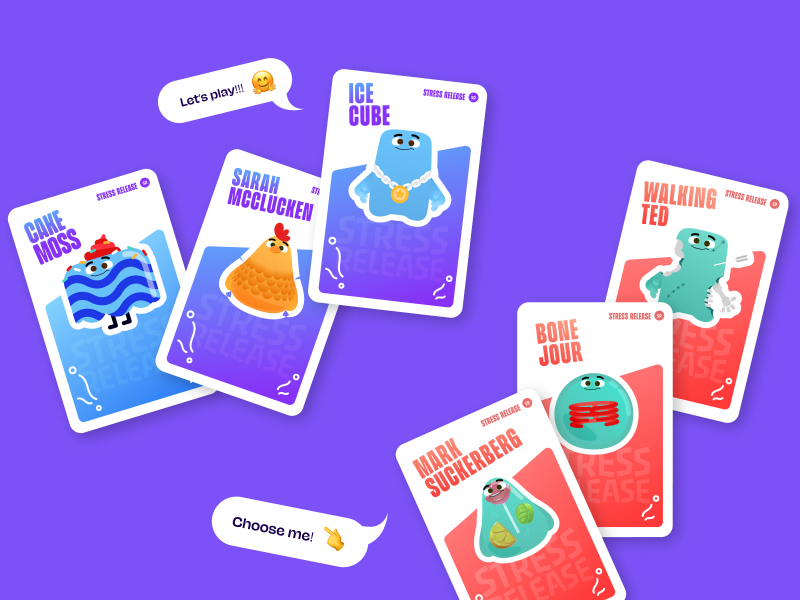
When our team at Isadora Agency set out to build Stress Release, a digital stress-relief squeeze toy designed to let burnt-out creatives smash, stretch, and distort animated UI characters, we initially explored that route. The goal was to build a highly tactile experience where every click yielded a satisfying, squishy reaction.
But as we began prototyping, we realized something crucial: Physics engines produce plausible motion, but in our case, the animators produced intentional motion.
We didn’t need our characters to act like realistic rubber balls bouncing uncontrollably around a canvas. We needed them to react in very specific, highly designed ways. So, we scrapped the physics engine entirely.
In this article, we’ll break down how we built a real-time stress-relief squeeze toy without a single line of WebGL or Matter.js, relying entirely on programmatic Lottie state controls, DOM manipulation, and distance-based math.
The Design Requirements: Intentional Motion
Our core requirement for Stress Release was absolute deterministic control. Our animators had crafted bespoke .json Lottie files that required exact, frame-by-frame sequencing.
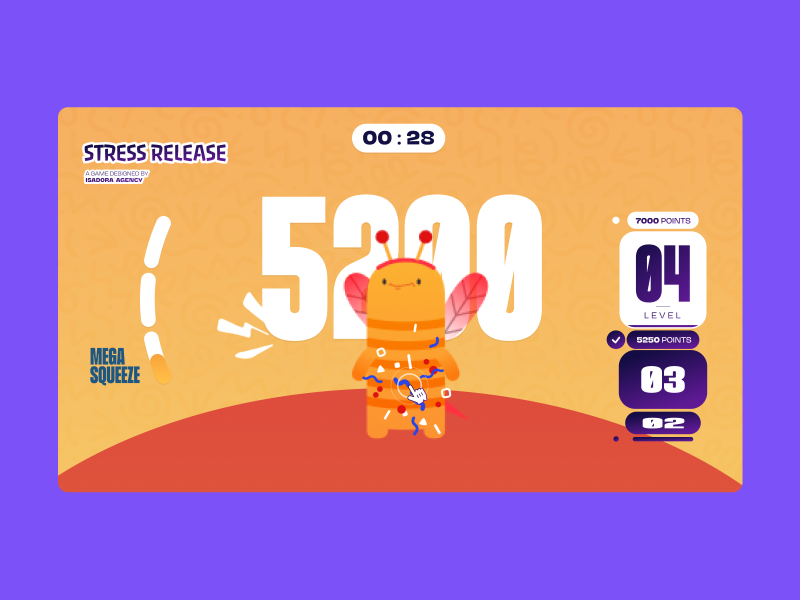
For instance, our ‘mega squeeze’ reaction required a precise 181-frame build-up followed by a specific release sequence. To honor this design, we needed an architecture that wouldn’t overwrite the animators’ crafted keyframes with algorithmic approximations.
The tighter the click-feedback loop (click → squish → score), the more you need deterministic frame control. By choosing programmatic state control using Lottie’s native API, we ensured that the interaction layer acted as a flawless trigger for the animation layer.
Creating Tactile Feedback: Mapping DOM Elements To Lottie States
Because our architecture relied on Lottie and the standard DOM, rendering is handled directly by the Lottie runtime, which plays the JSON-based vector animations as SVGs internally. We selected elements directly by ID and CSS class, driving their behavior using a combination of Lottie animation segments, CSS transforms, and click-event math.
To achieve a deeply satisfying “tactile feel” upon hitting a character, we used radial input mapping. The first step was converting the click from page coordinates into the character’s local coordinate space.
Every click was measured against the character’s center point, then translated into score, feedback intensity, and explosion placement:
// Character's center point in its own coordinate space
var x_center = parseFloat($("#playChar").width()  / 2);
var y_center = parseFloat($("#playChar").height() / 2);

// Click position relative to the character's top-left corner
var offset = $("#playChar").offset(); // document-relative position
var X = parseFloat(e.pageX - offset.left);
var Y = parseFloat(e.pageY - offset.top);

// Vector from center to click point
var a = parseFloat(X - x_center);
var b = parseFloat(Y - y_center);
Then we calculate the straight-line distance from the center of the click using the Pythagorean theorem:
var distance = Math.hypot(a, b);That single number drives everything: the score, the feedback intensity, and where the explosion animation appears:
// Distance zones map to point rewards
if      (distance < 10)  givePts = 100; // bullseye
else if (distance < 40)  givePts = getRndInteger(70, 90);
else if (distance < 70)  givePts = getRndInteger(40, 70);
else if (distance < 100) givePts = getRndInteger(20, 40);
else if (distance < 120) givePts = getRndInteger(10, 20);
else if (distance < 145) givePts = getRndInteger(1,  10);
else givePts = 0; // miss

// Explosion Lottie repositioned to the exact click point
var shiftPosition = window.innerWidth < 1023 ? -20 : 200;
$("#explosionChar").css({
  "margin-left": a + shiftPosition + "px",
  "margin-top":  b + shiftPosition + "px",
});

// Fire the squish animation instantly
explosion.goToAndPlay(0);
The result is a concentric zone system — a perfect circle of scoring rings around the character’s center, similar to a dartboard. The visual complexity of the Lottie SVG is completely irrelevant to hit detection; the hitbox is always a clean circle. Critically, the explosion Lottie animation is repositioned to (a, b) — the same vector used for scoring, so it always appears exactly where the player clicked. This spatial accuracy creates the tactile “I hit that” sensation entirely through math and DOM positioning.
Interaction Handling: Controlling The Narrative
Because the experience used DOM-managed SVG elements, desktop clicks and mobile taps could be handled directly through native event listeners. This avoided extra raycasting or coordinate remapping layers, while keeping the interaction model aligned with how the animations were rendered. Since the game requires a visual reaction at a specific point, binding interaction directly to DOM events — rather than routing through a separate physics or hit-detection layer — kept the feedback loop tight and the animation triggers deterministic.
This architecture ultimately demonstrates that for experiences where designed motion matters more than simulated motion, Lottie’s programmatic API combined with straightforward DOM math can deliver a level of tactile fidelity that physics engines, by their generative nature, simply cannot guarantee.